Adding CodeTogether to the IDE
Each team member must install CodeTogether in their IDE to enable live collaboration and gather data directly from the developer's workstation, providing immediate insights into workflows.
The method used to install the IDE depends on whether you are using the cloud or on-premises version.
Install CodeTogether from the Cloud
If you are using the cloud version, install CodeTogether directly from the IDE's marketplace:
- VS Code
- IntelliJ
- Eclipse
- Press
Ctrl+Shift+Xto open the Extensions view. - Type
CodeTogether Cloudin the search box. - Click Install. Once complete, the Install button will change to a Manage gear icon.
- Press
Ctrl+Alt+Sto open settings and then select Plugins. - Click the Marketplace tab and type
CodeTogether Cloudin the search field. - Click Install.
- Restart the IDE.
- Select Help > Eclipse Marketplace to open the Eclipse Marketplace dialog.
- Search for
CodeTogether Cloud. - Click the Install button next to the plugin.
- Restart Eclipse.
Install CodeTogether from Your On-Premises Server
If you are using the on-premises version, download and install the pre-configured CodeTogether plugin or extension tailored for your specific deployment.
General Steps
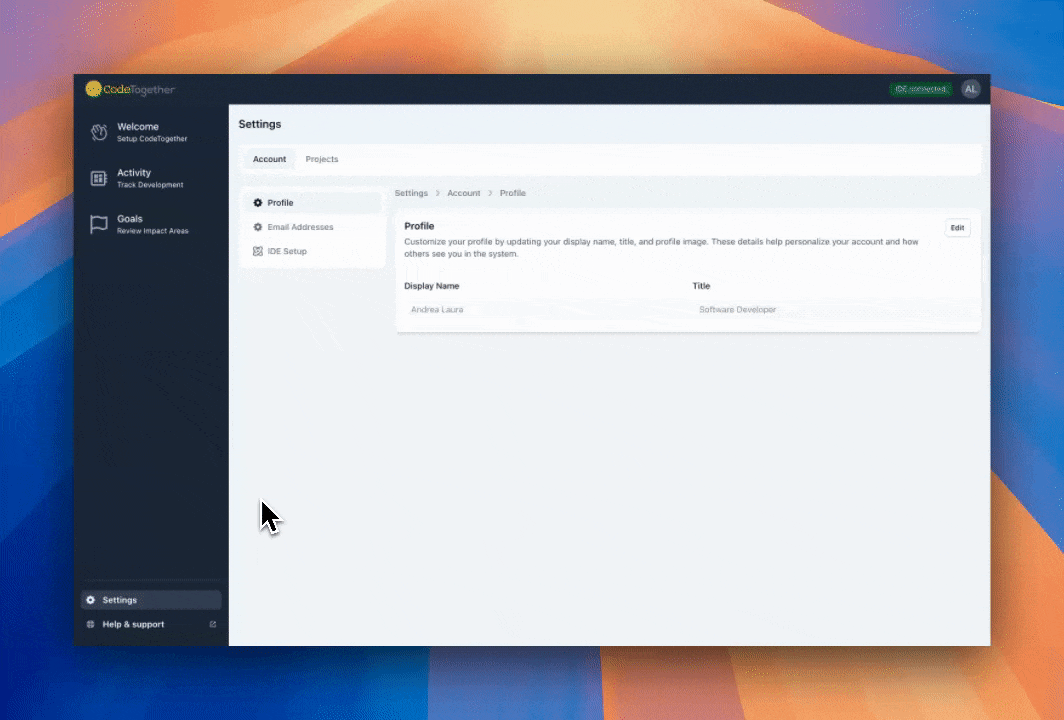
- Open the CodeTogether Portal.
- Go to Settings → Account → IDE Setup.
- Click View Install Guide for the IDE you want.
- Follow the steps shown in the guide.
Next to your profile icon (top right corner), you can see the connection status of your CodeTogether plugin. If you are not a developer, you can click “I am not a developer” and skip the setup.
- VS Code
- Visual Studio
- IntelliJ
- Eclipse
- In VS Code, click on the Extensions view icon on the left sidebar.
- Click the three dots (...) in the top-right corner.
- Select Install from VSIX... from the dropdown.
- Choose the downloaded
.vsixfile and click Open.
- Double-click the downloaded
.vsixfile to install the extension. - Open Visual Studio.
- Open IntelliJ.
- Press
Ctrl+Alt+Sto open Settings, then go to Plugins. - Click the Gear icon > Install Plugin from Disk.
- Select the downloaded
.zipfile and click OK.
- Open Eclipse.
- Go to Help > Install New Software.
- Click Add and paste the plugin URL copied from the portal.
- Select CodeTogether and click Next.
- Follow the prompts to accept the license and finish the installation.
The IDE client used by CodeTogether is automatically updated. This ensures that you are always using the most current and secure version of the software.