Setting Up Your Project
When you log in to the CodeTogether portal for the first time, a Welcome checklist guides you through setting up your first project.
The full checklist is visible only when logged in as an Admin. To skip a step, click Skip button.
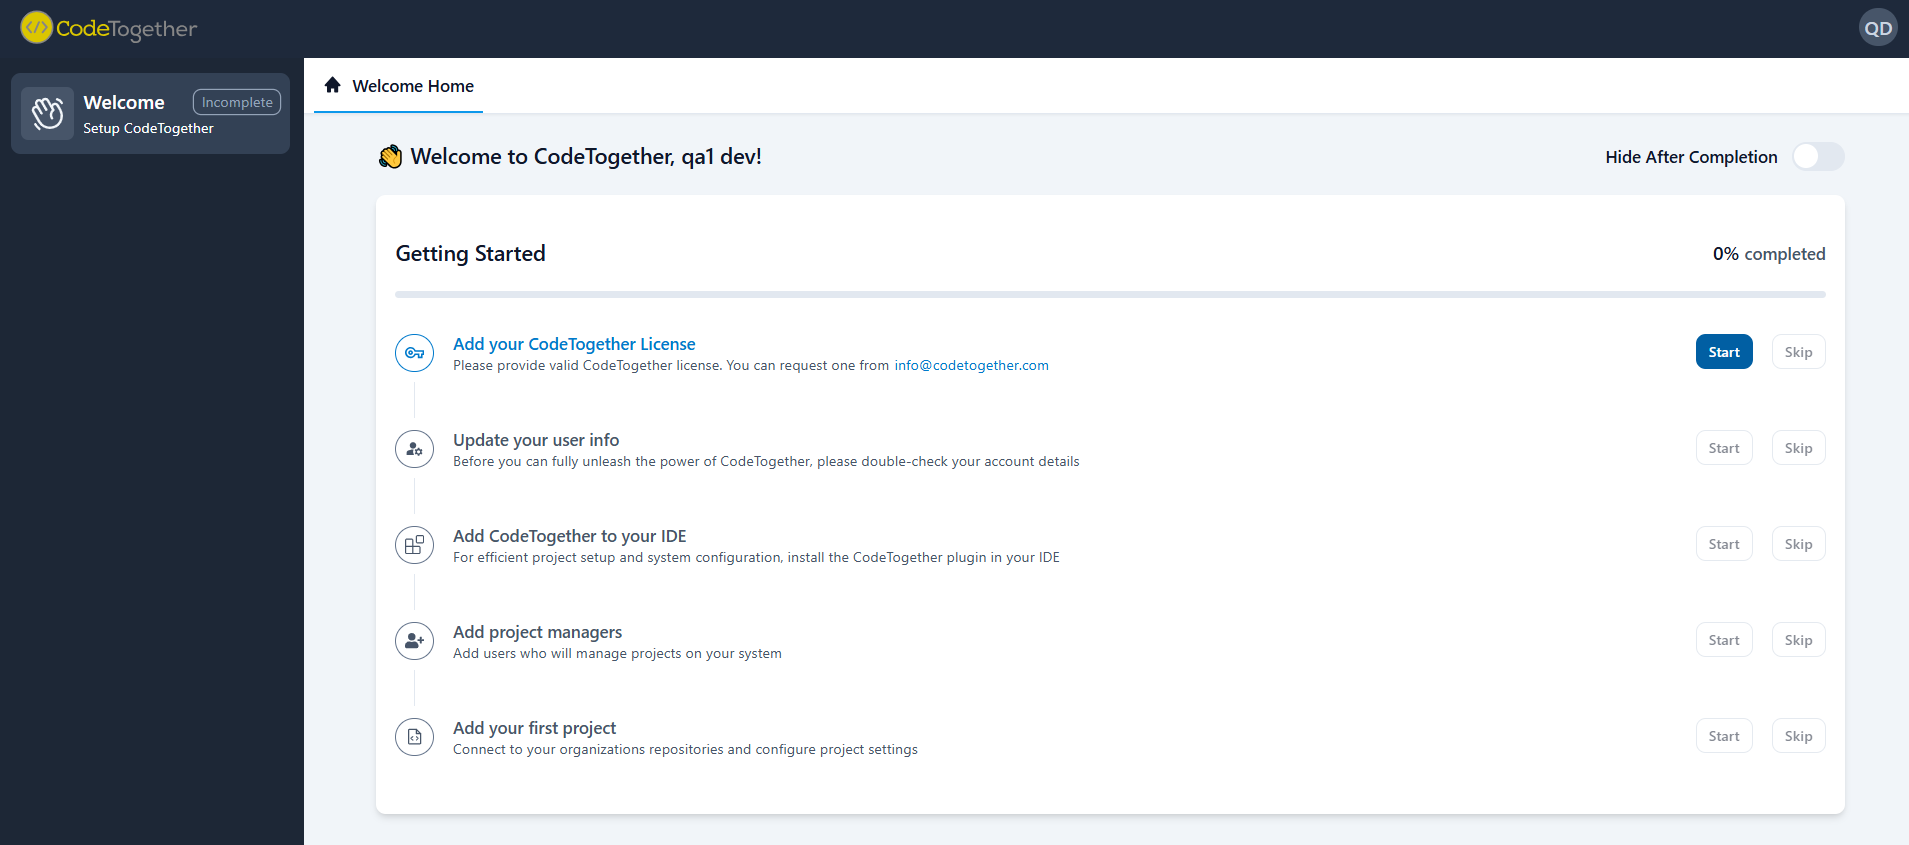
Welcome Checklist Steps
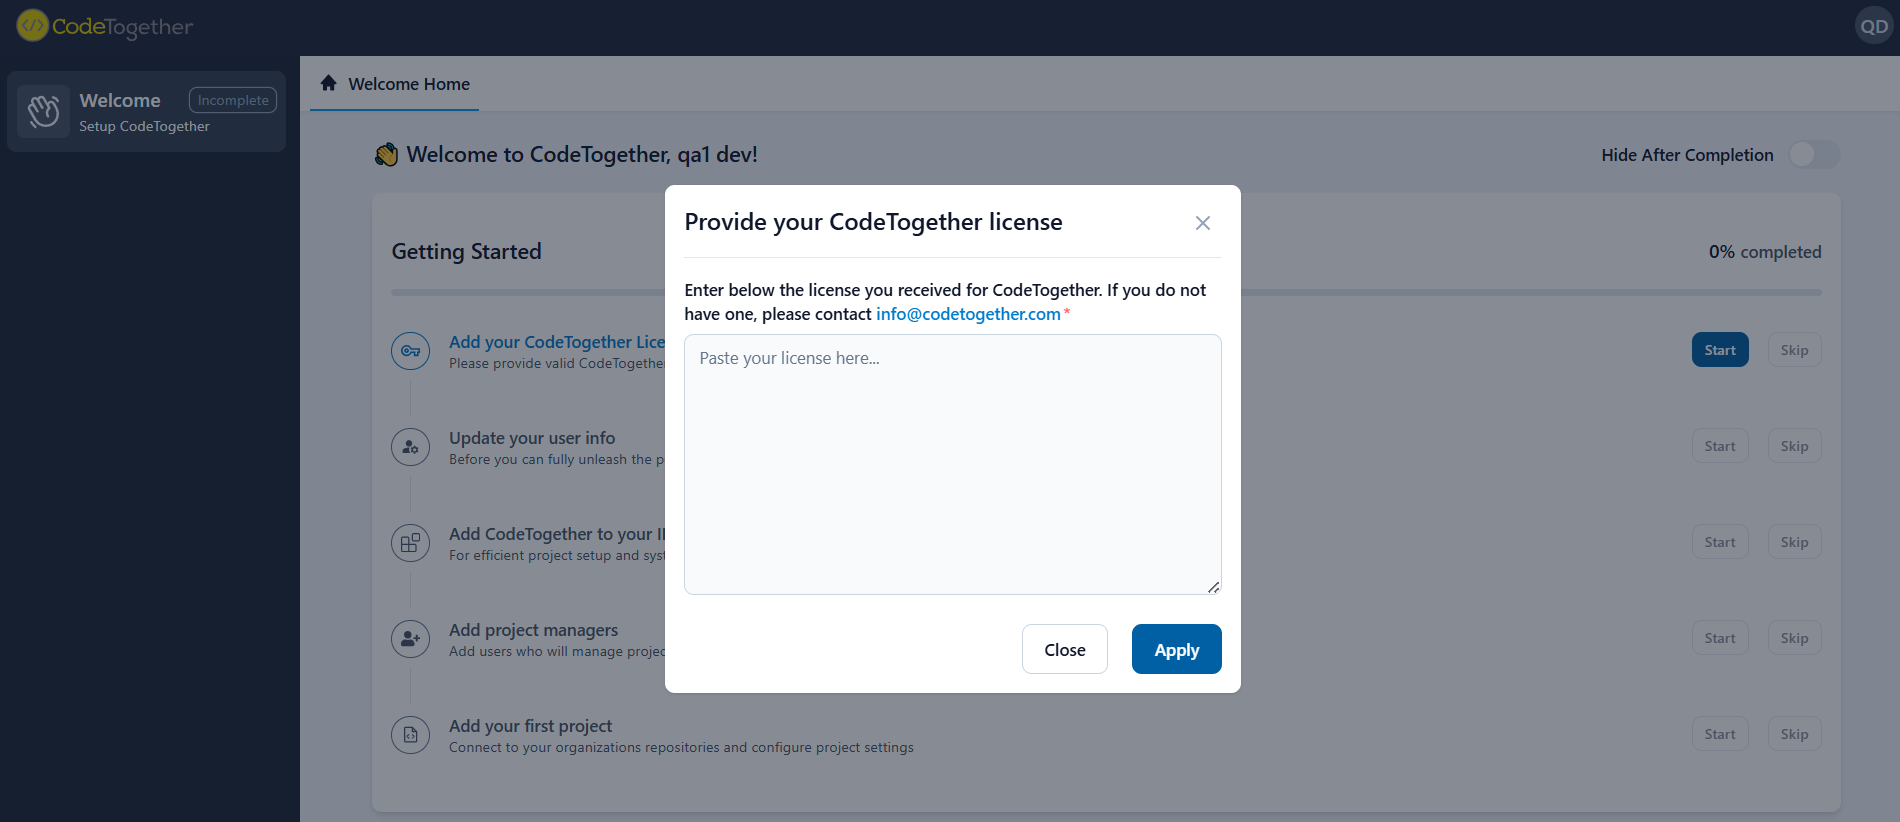
1. Add Your CodeTogether License
For on-premises users, click Start and paste the license information provided by your account representative.
Please add the CodeTogether license exactly as it was provided. Any change in formatting, often caused by copy-paste issues, may break the license and prevent it from working correctly.
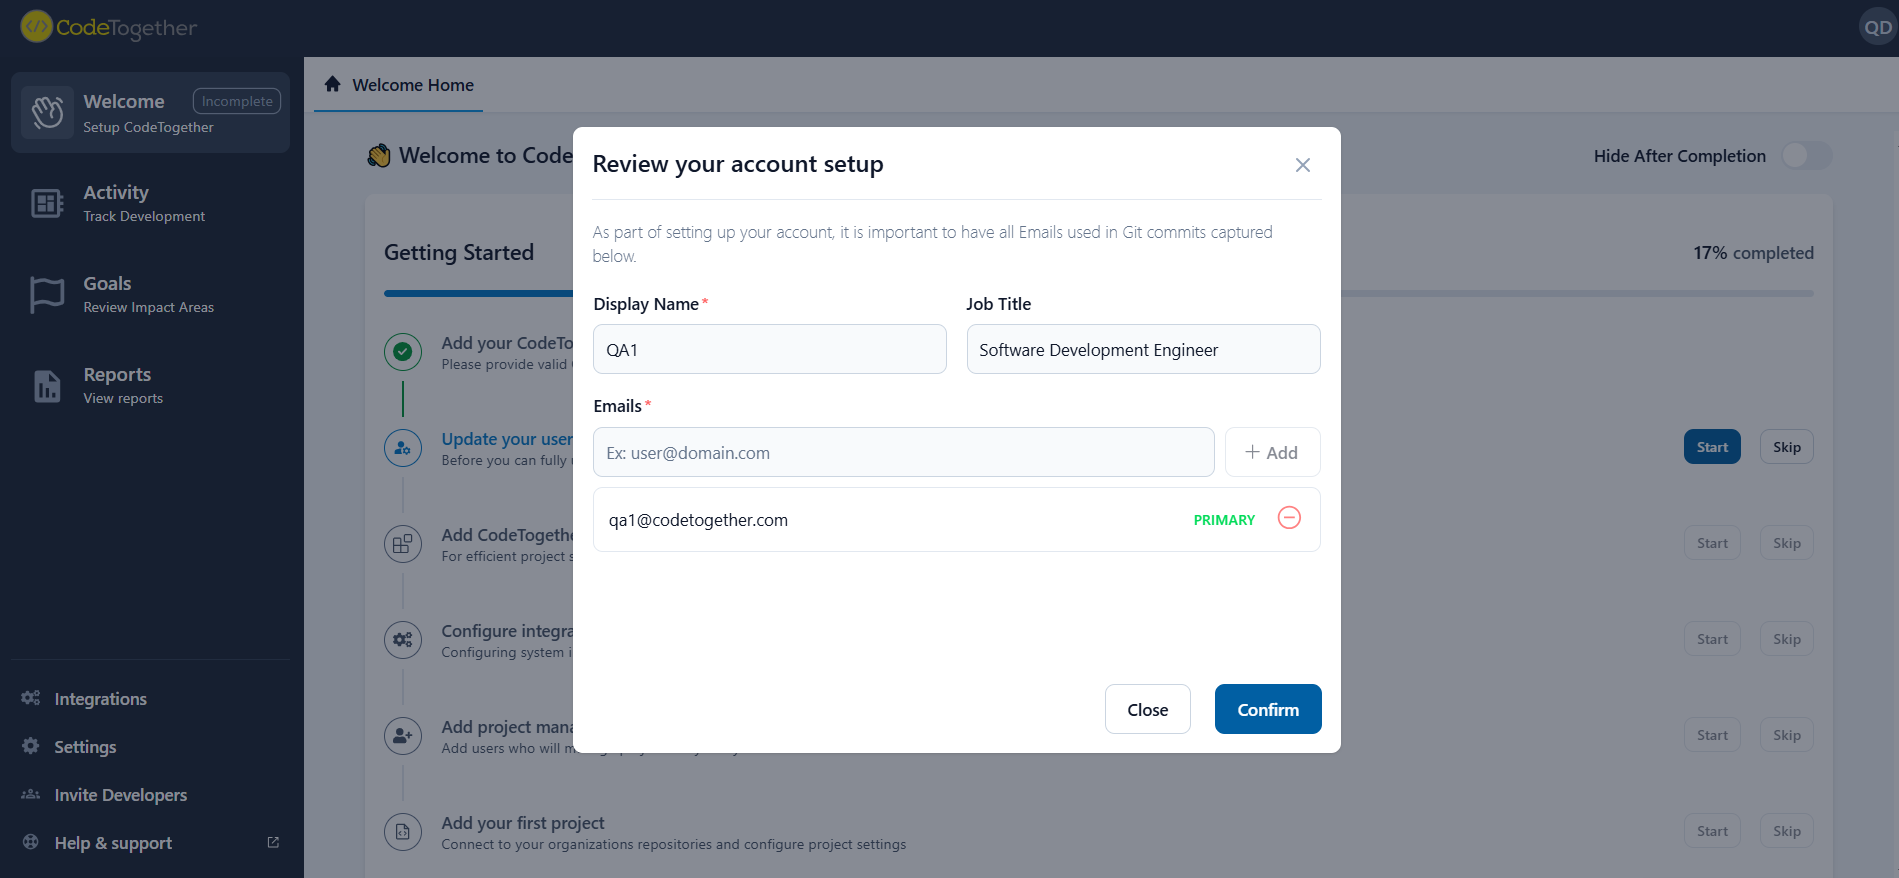
2. Update User Information
Click the Start button to link all Git commit email addresses for activity tracking. At this stage, you can also update the user name and title as they will appear in CodeTogether.
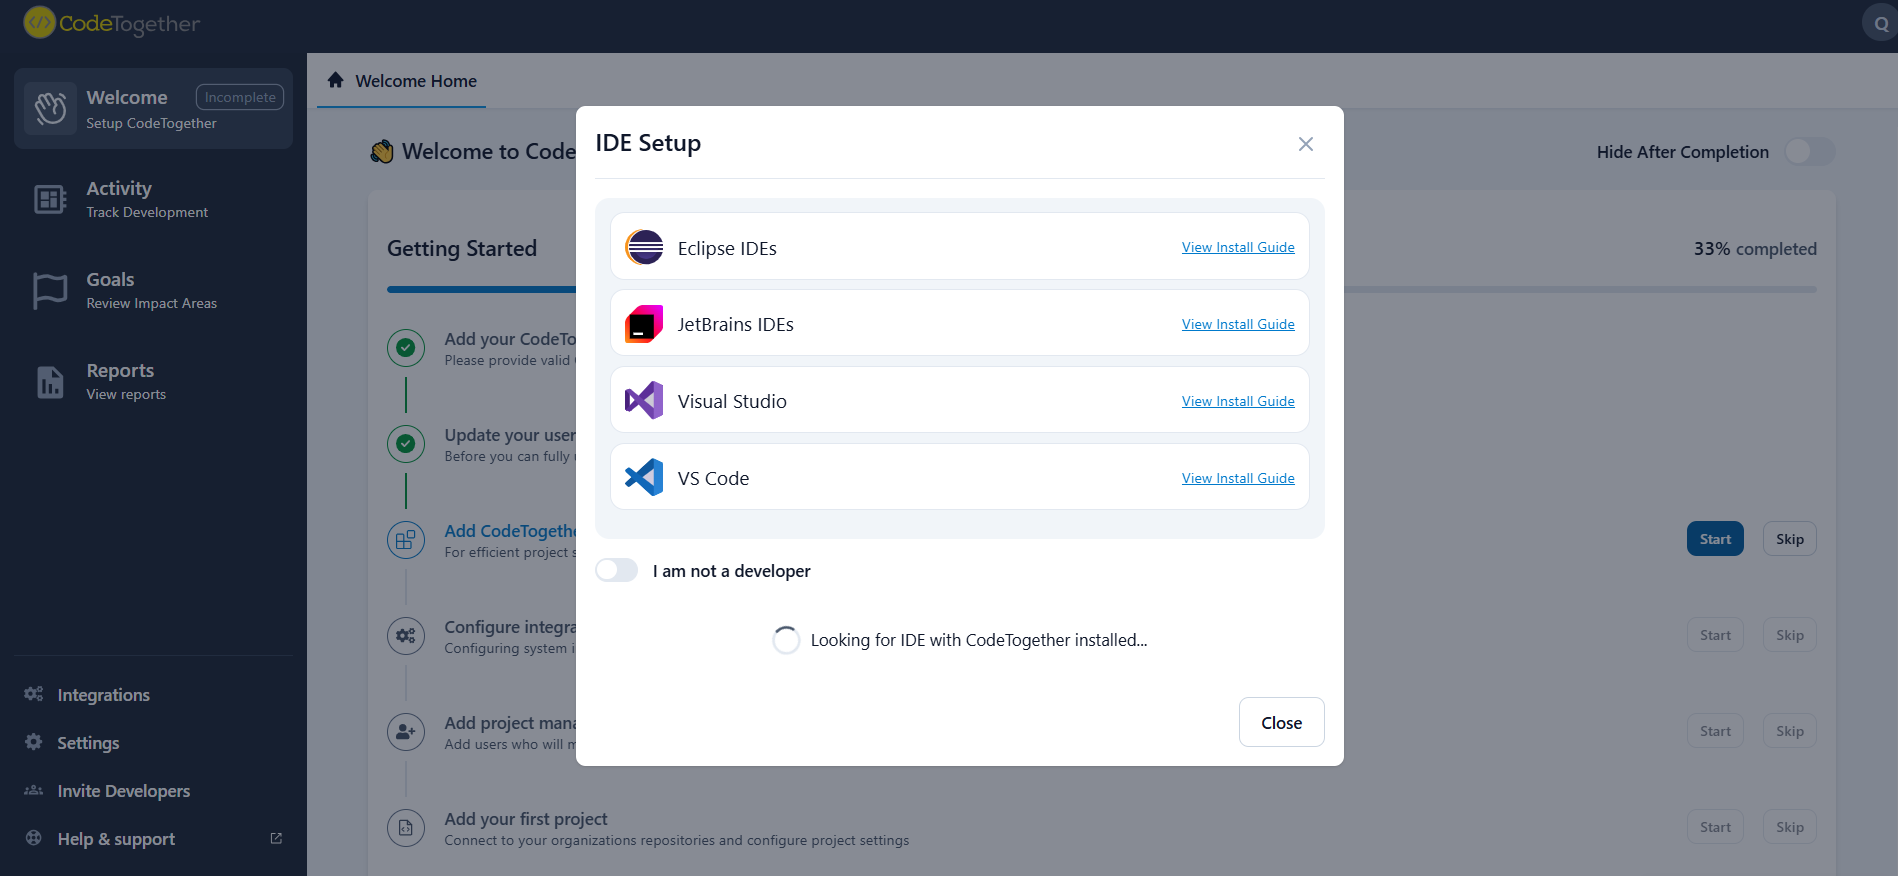
3. Add CodeTogether to Your IDE
If you’re a developer, select your IDE to install the CodeTogether plugin. If you are not a developer or do not perform development on this system, select I am not a developer to skip this step.
4. System Integrations (Custom Setup)
Some environments may require additional system integrations as part of a custom setup. At this point, integration setup (including issue tracker integrations) is treated as a custom configuration and is not documented in this guide. If you need integrations enabled for your deployment, contact your CodeTogether administrator or account representative.
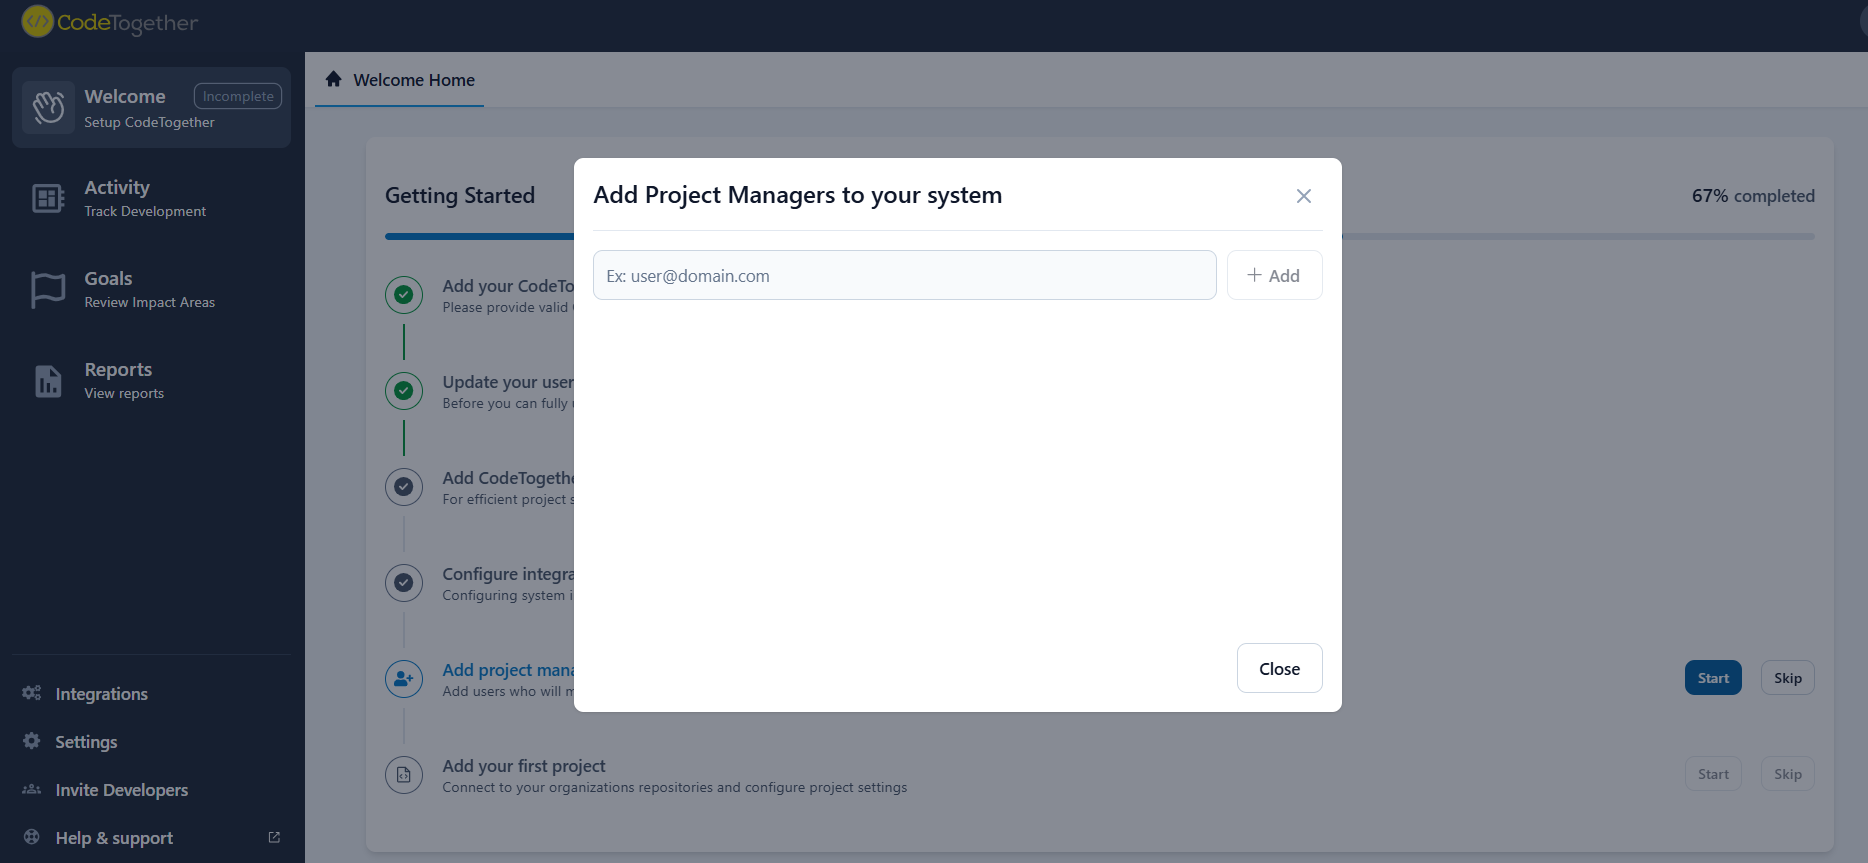
5. Add Project Managers
Add the email address for each project manager. Project managers can create new projects and assign project admins.
After adding project managers, the list will appear as shown below. From this screen, you can add more managers or remove existing ones as needed.
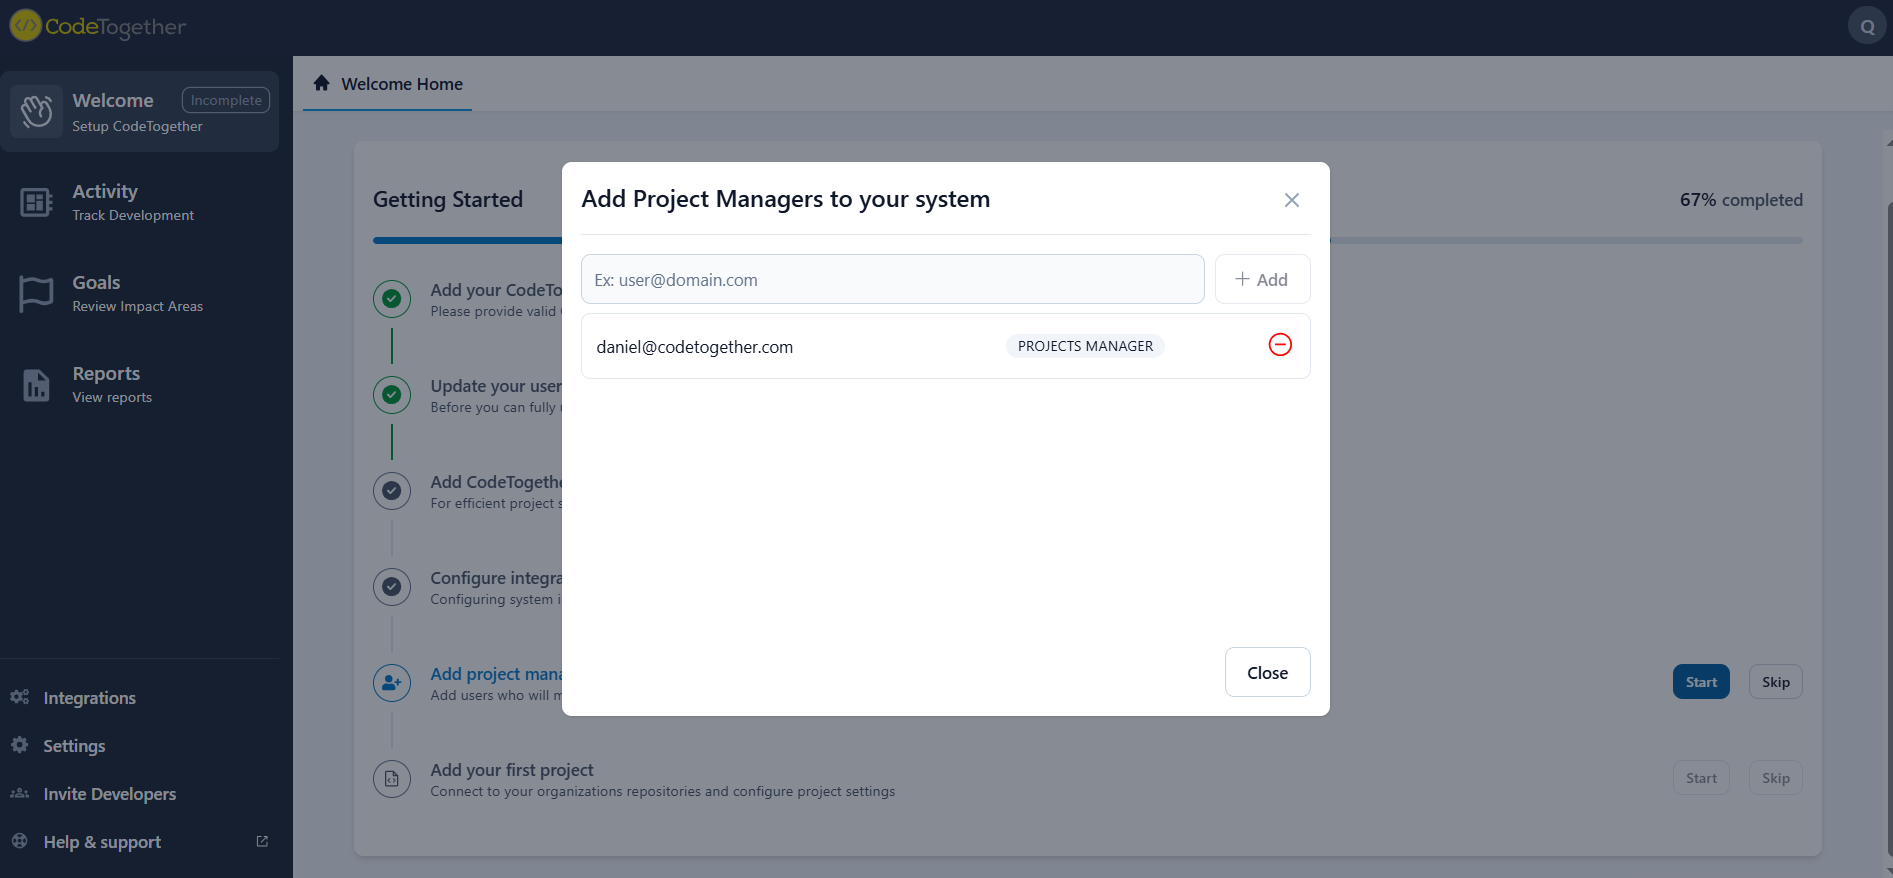
If you choose not to set up a project during onboarding, you may be required to add at least one project manager before continuing.
6. Add Your Project
Click Start to begin creating your first project in CodeTogether.
For detailed setup instructions, follow the steps below:
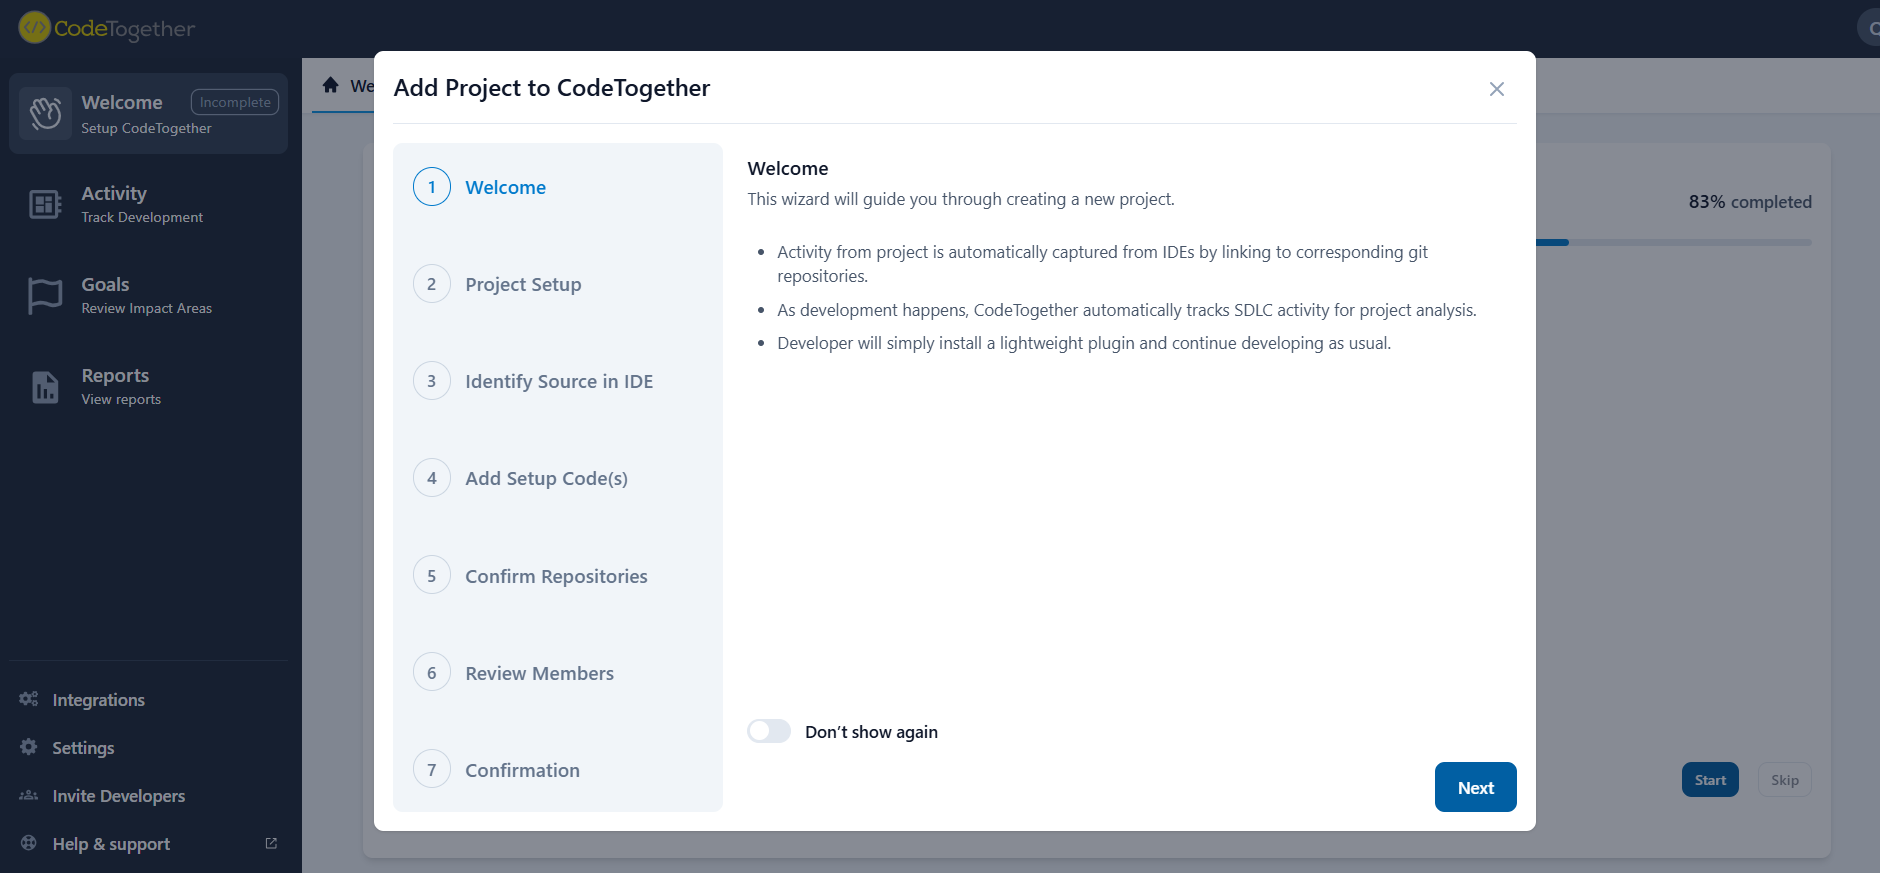
Adding a Project
The Add Project flow guides you through creating a project, associating it with a department, and connecting source code (when available) so CodeTogether can begin processing activity and project data. You can add a project either:
- From the Welcome Checklist (recommended for first-time users), or
- By selecting Add Project from the project dropdown in the top-right corner of the Activity page.
Complete the following steps:
1. Project Name
Enter a name for the project.
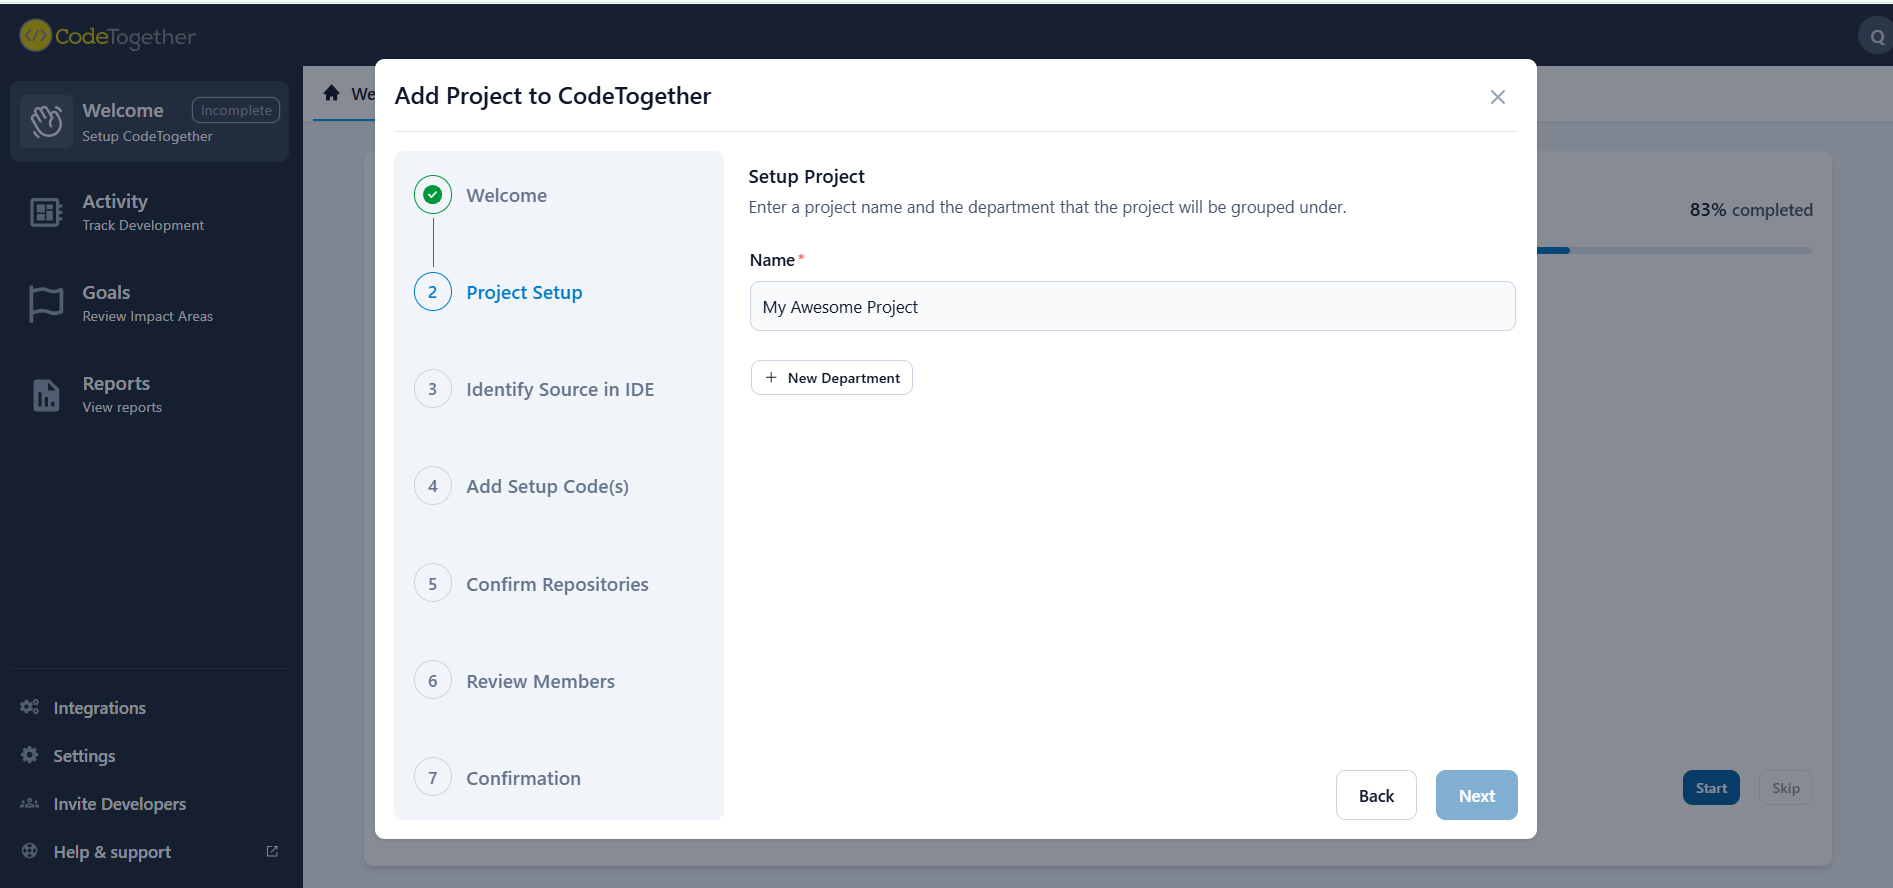
2. Select Department
Choose the department that this project will belong to.
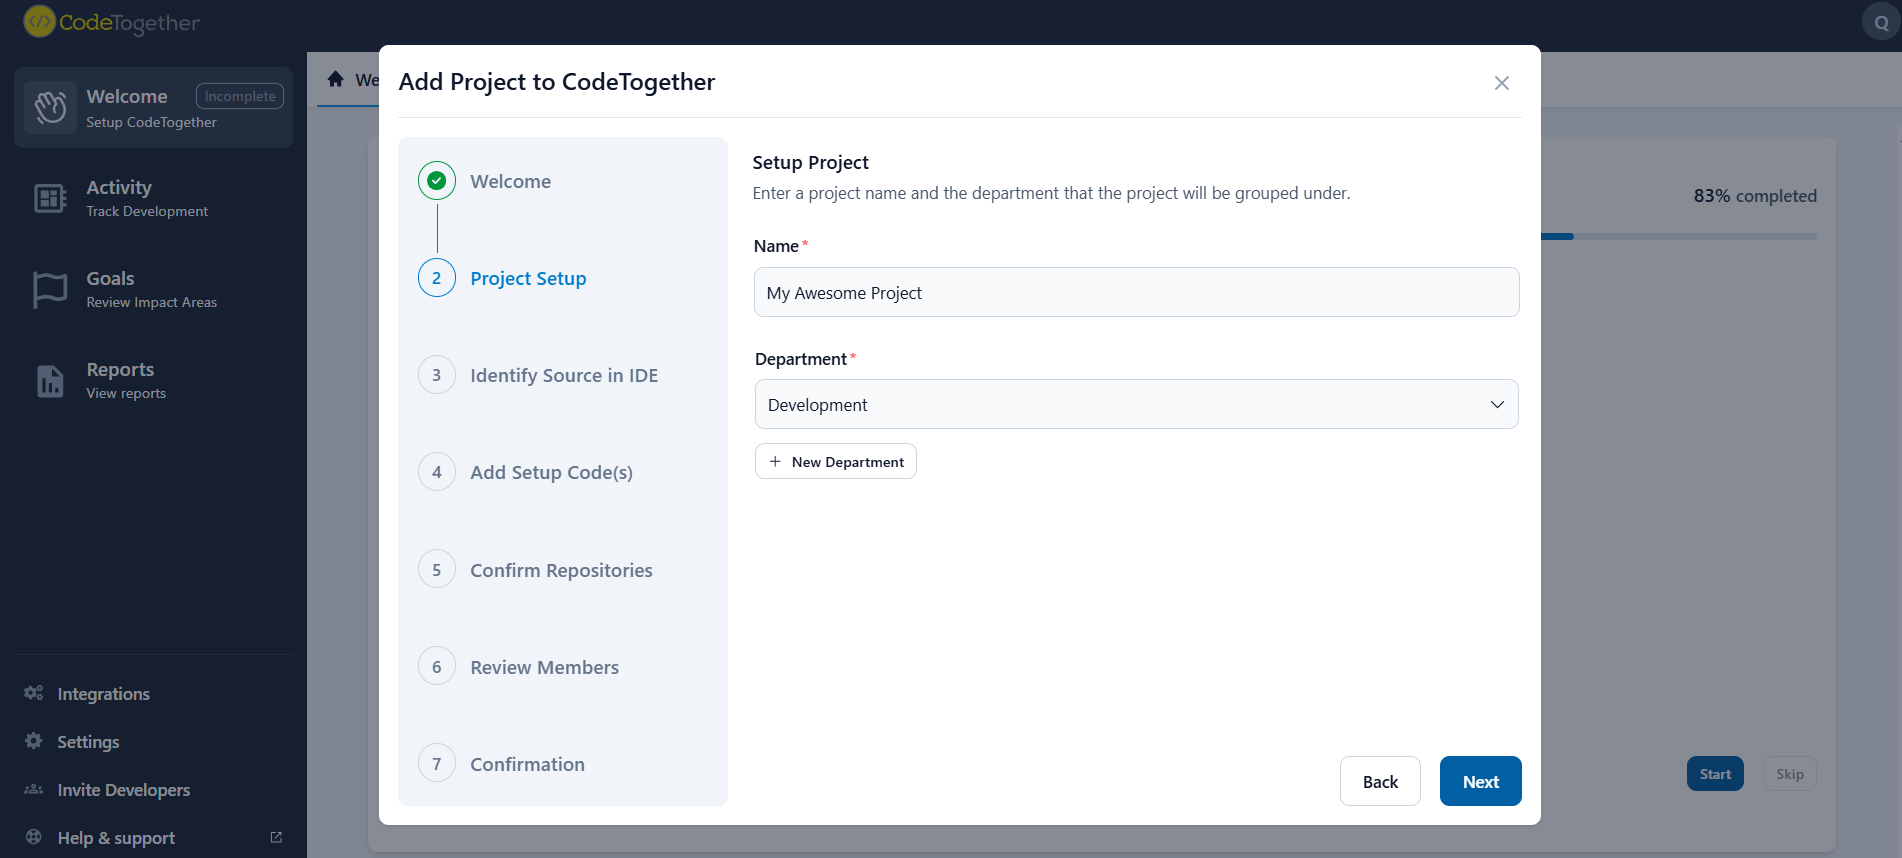
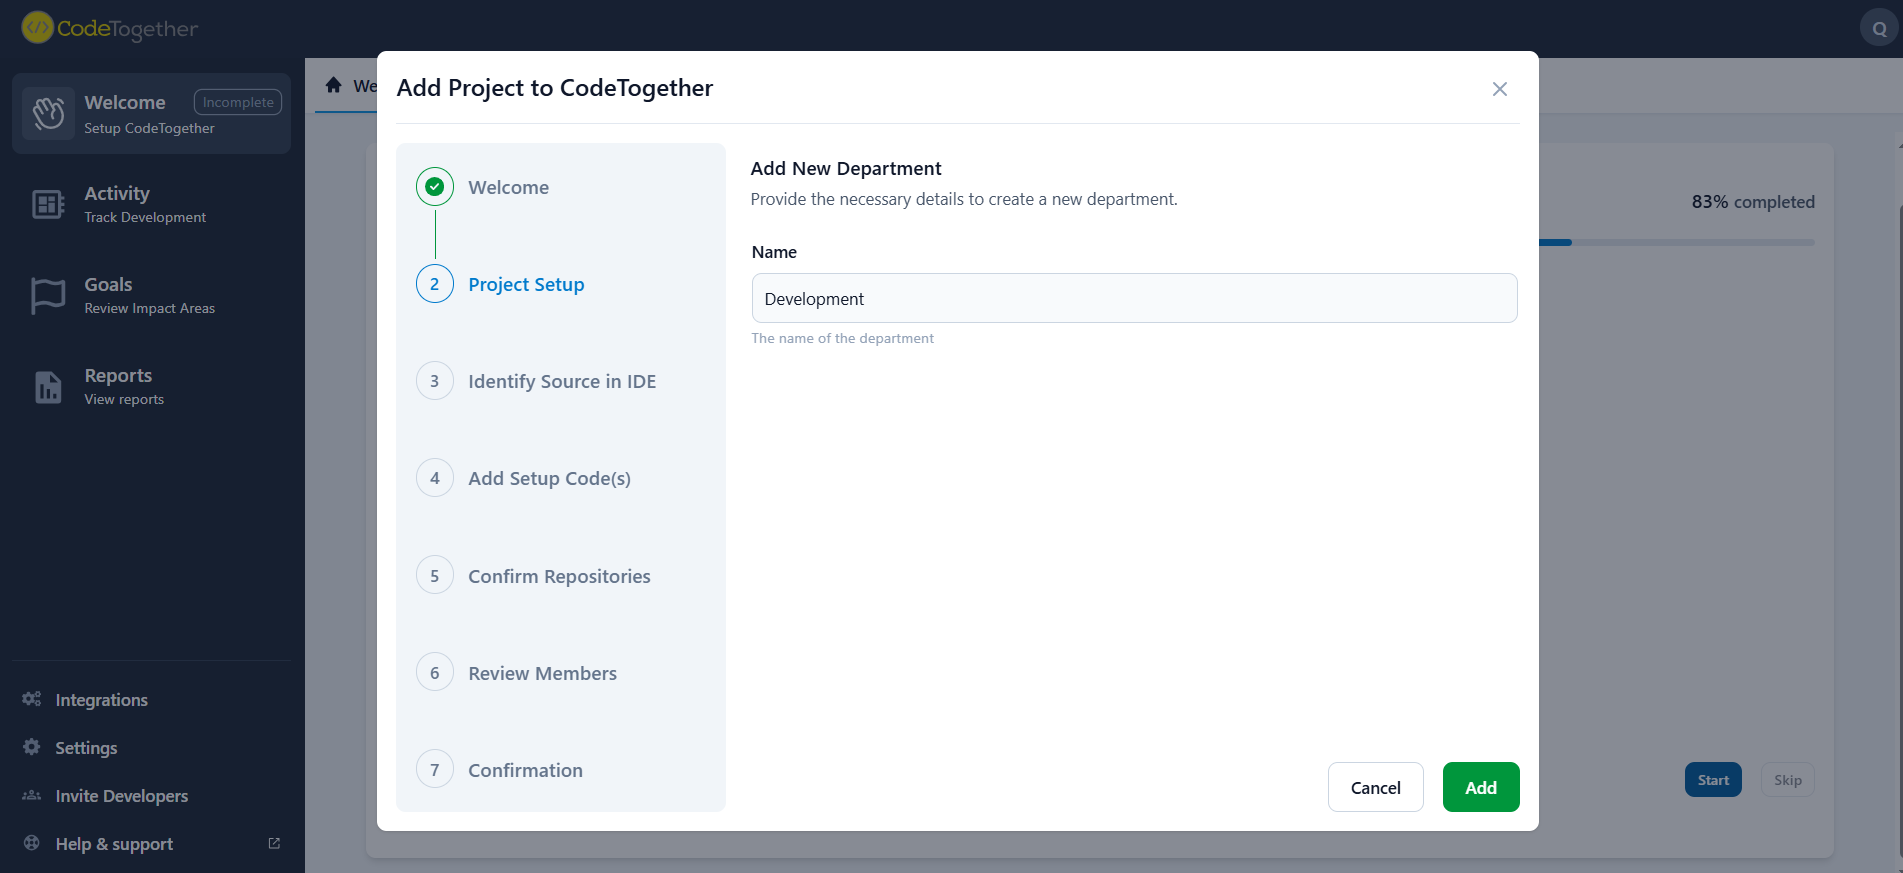
You can either select an existing department or create a new one by clicking New Department, entering a name, and clicking Add.
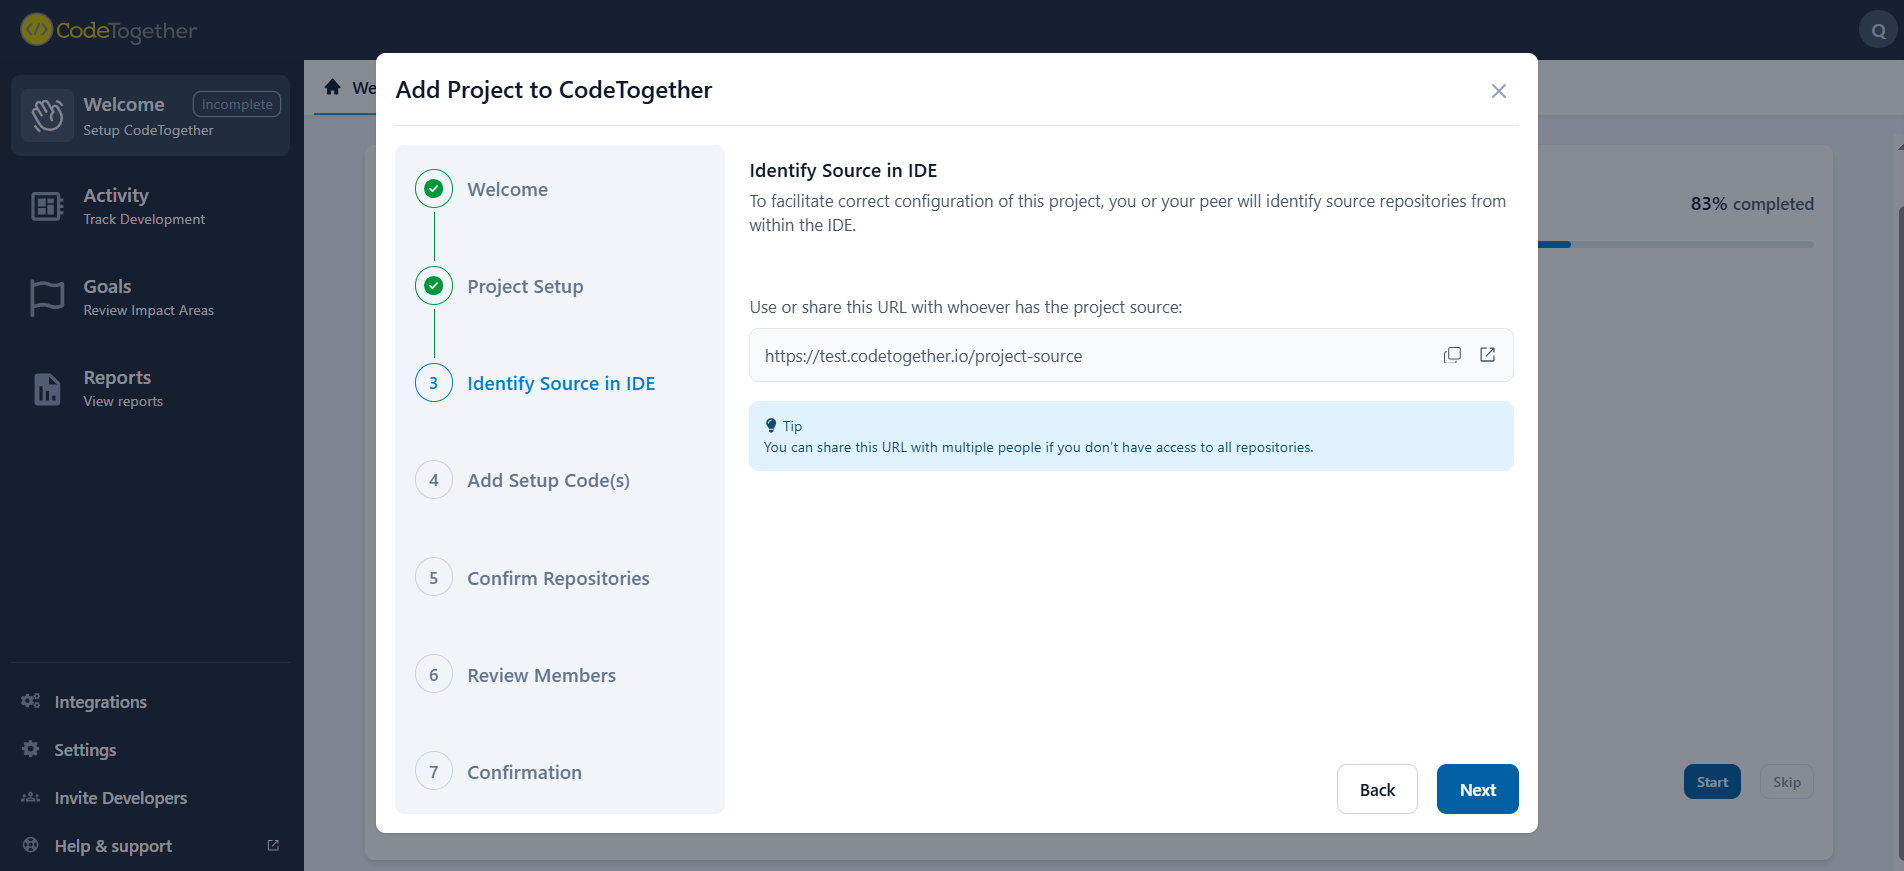
3. Access to Source Code?
To configure the repositories for this project, CodeTogether needs a developer (or someone with access to the project source code) to identify the repositories from within an IDE. If you do not have access to the repositories yourself, share the URL shown in this step with the person who does. They will complete a short IDE flow to generate the Setup Code that you can enter in the setup wizard. The person with access to the source code should open the link and follow the instructions to generate a Setup Code.
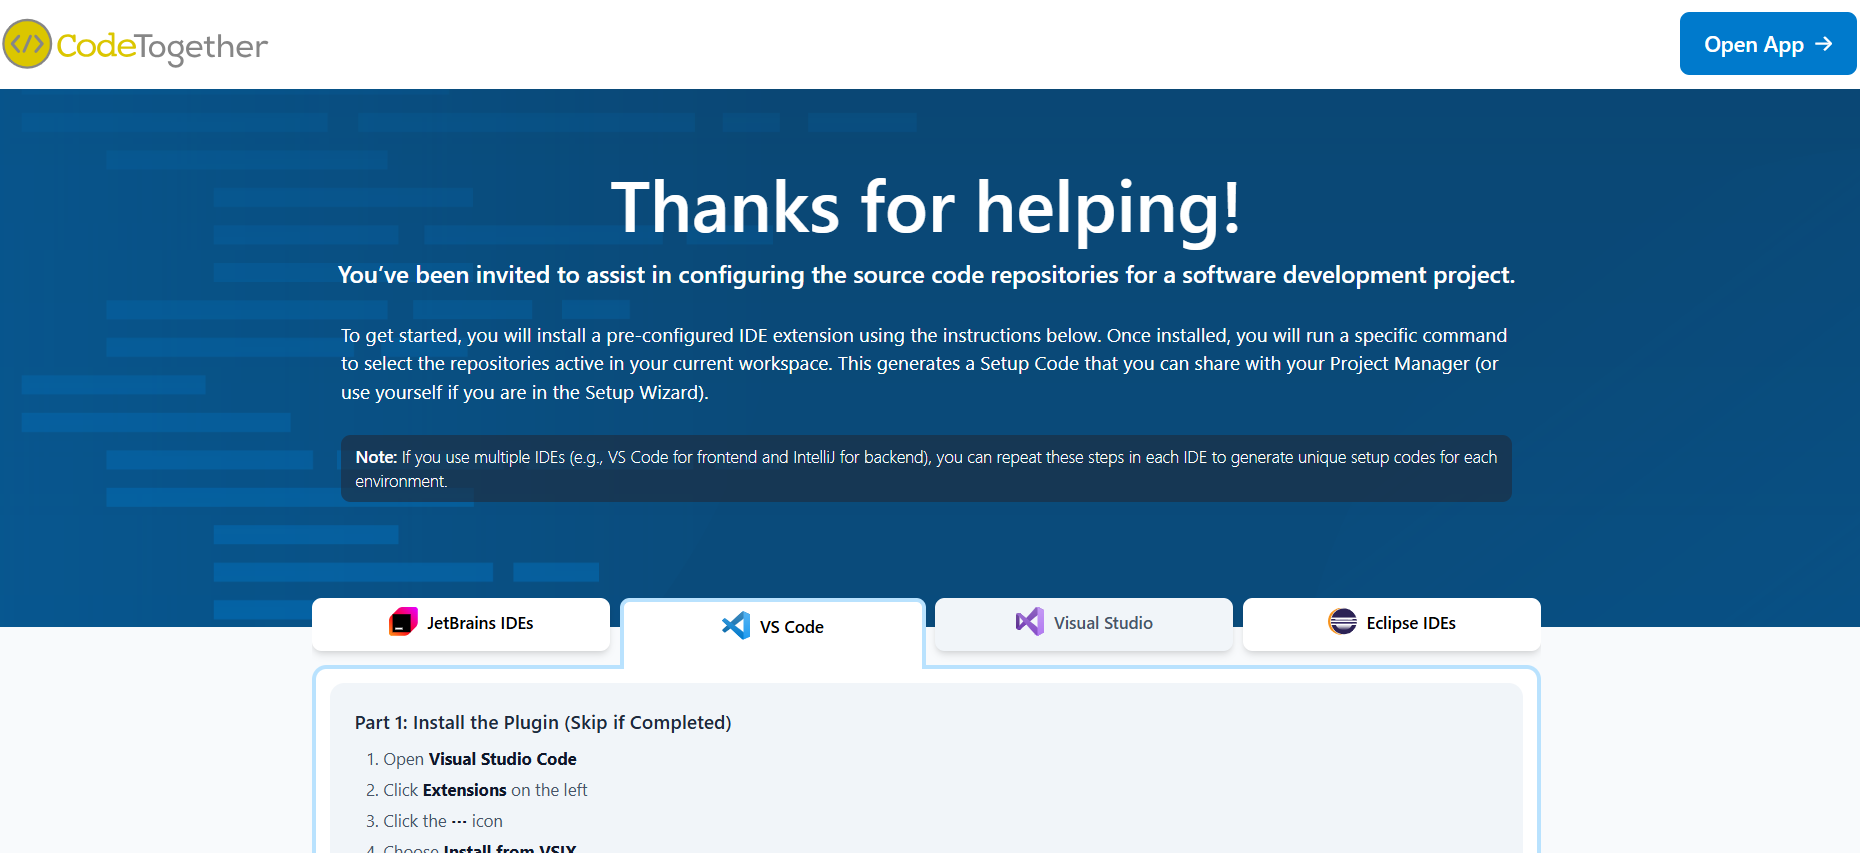
Install the IDE extension (skip if already installed)
Follow the instructions on the shared page to install the CodeTogether extension for the IDE in use (VS Code, IntelliJ, Visual Studio, or Eclipse).
Generate a Setup Code
Follow the instructions on the shared page for your specific IDE (VS Code, IntelliJ, Visual Studio, or Eclipse) to generate a Setup Code.
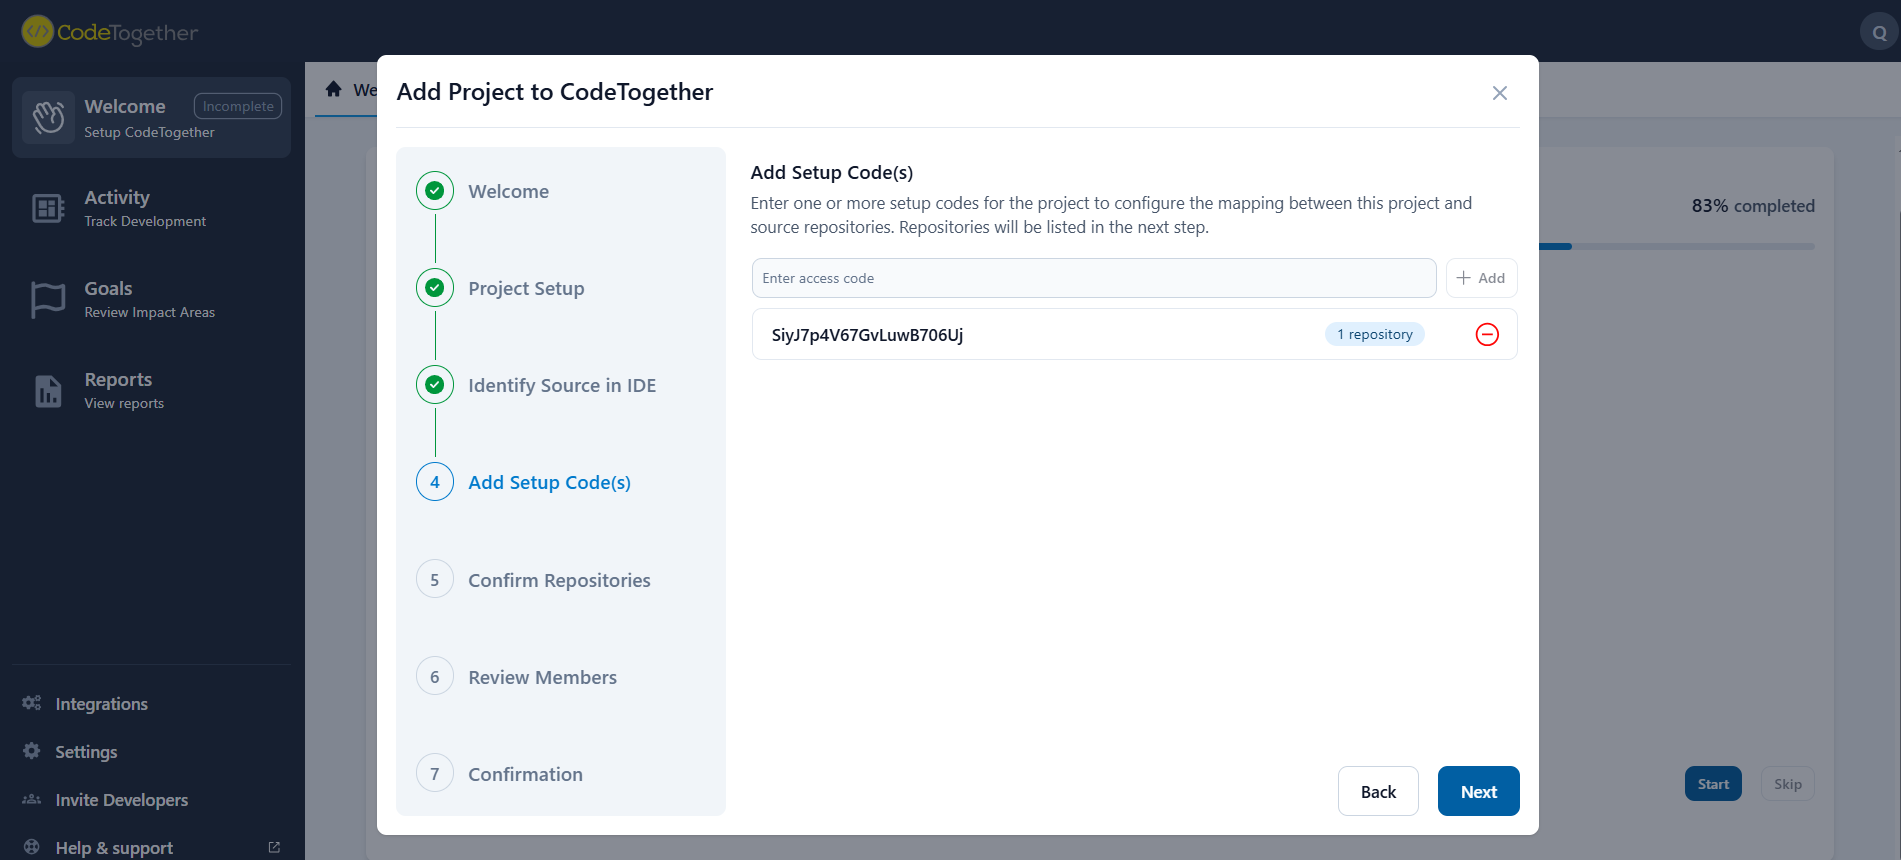
Add Setup Code(s)
Paste one or more Setup Codes provided by your developer(s). Each code corresponds to repositories identified from an IDE. You can add multiple setup codes when:
- Different IDEs are used for different parts of the project, or
- Different team members provide access to different repositories.
Confirm Repositories
Review the repositories detected from the setup code(s) and confirm the selection to continue.
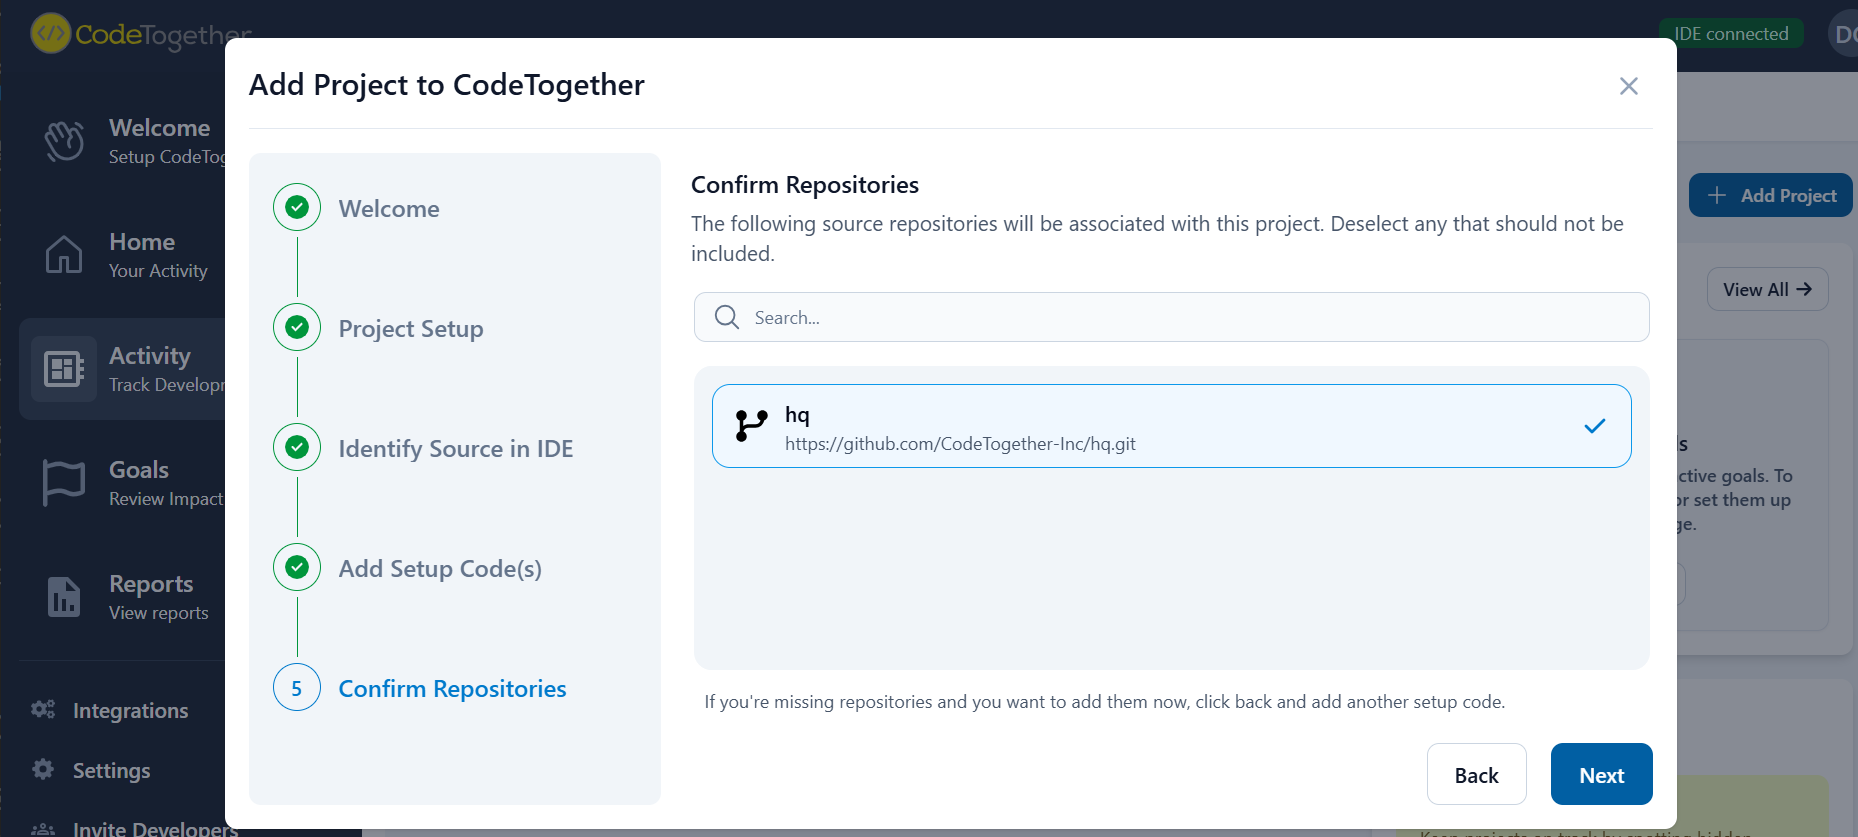
Confirm Repositories
Review the repositories detected from the setup code(s) and confirm the selection to continue.
Review Members
In this step, CodeTogether suggests project members that were automatically detected based on recent activity.
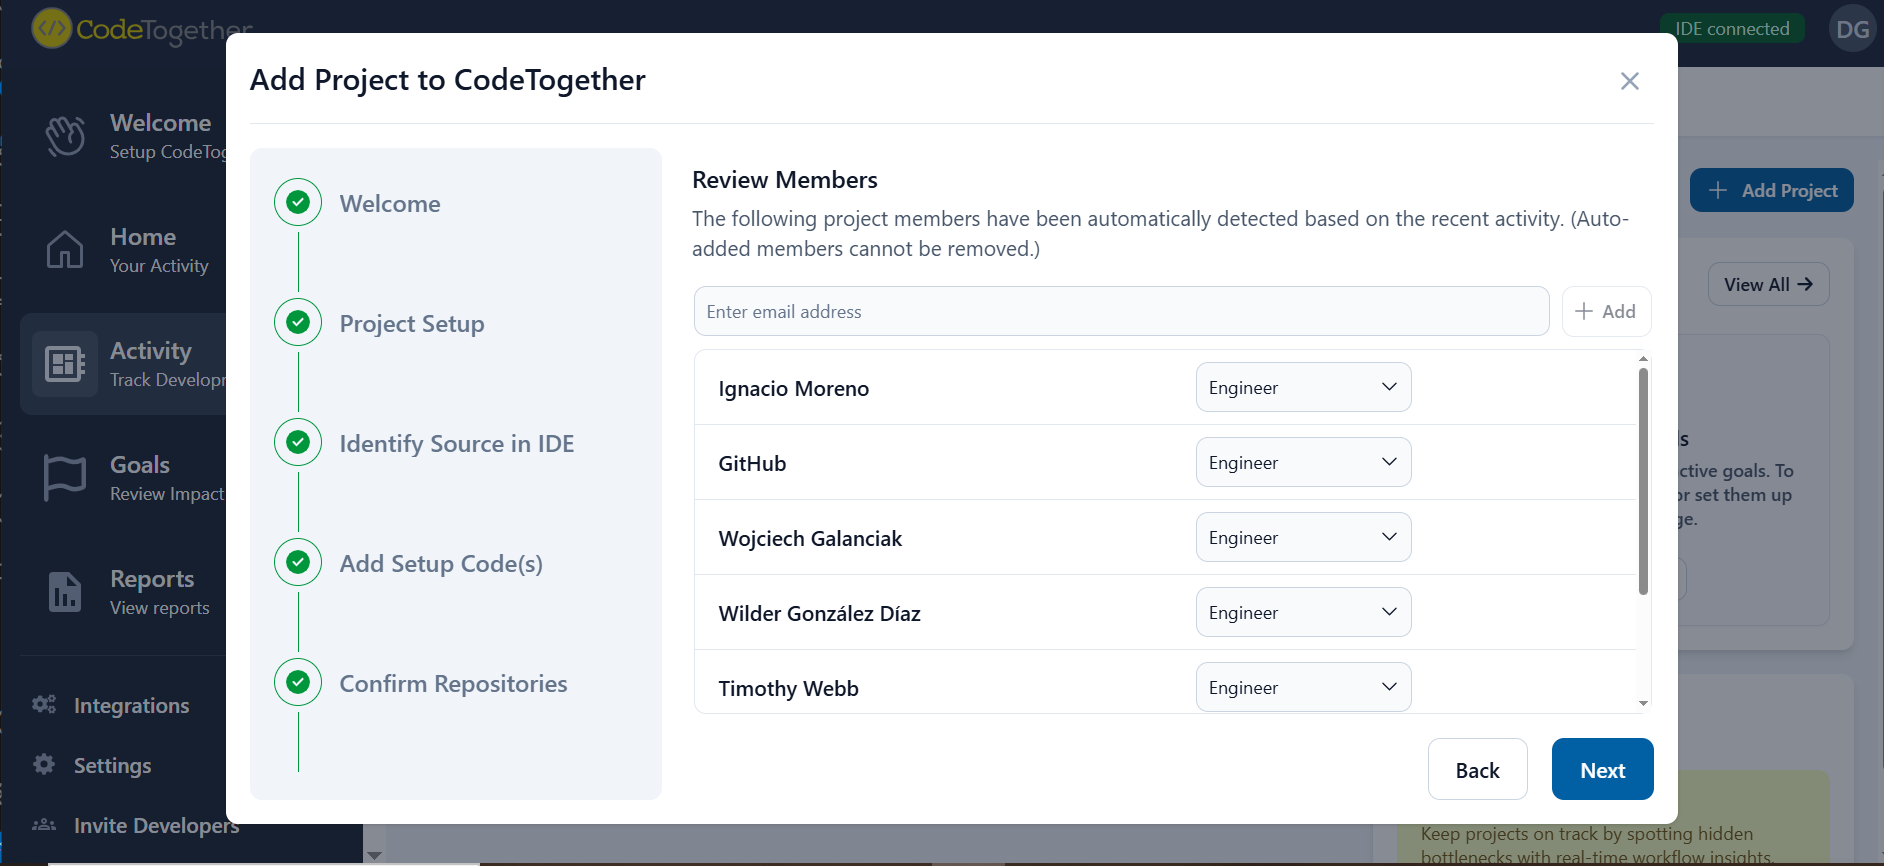
To add more people:
- Enter an email address in the field at the top.
- Click Add.
- Select the appropriate role for each member using the role dropdown (for example, Engineer).
When you’re done reviewing the list, click Next to continue.
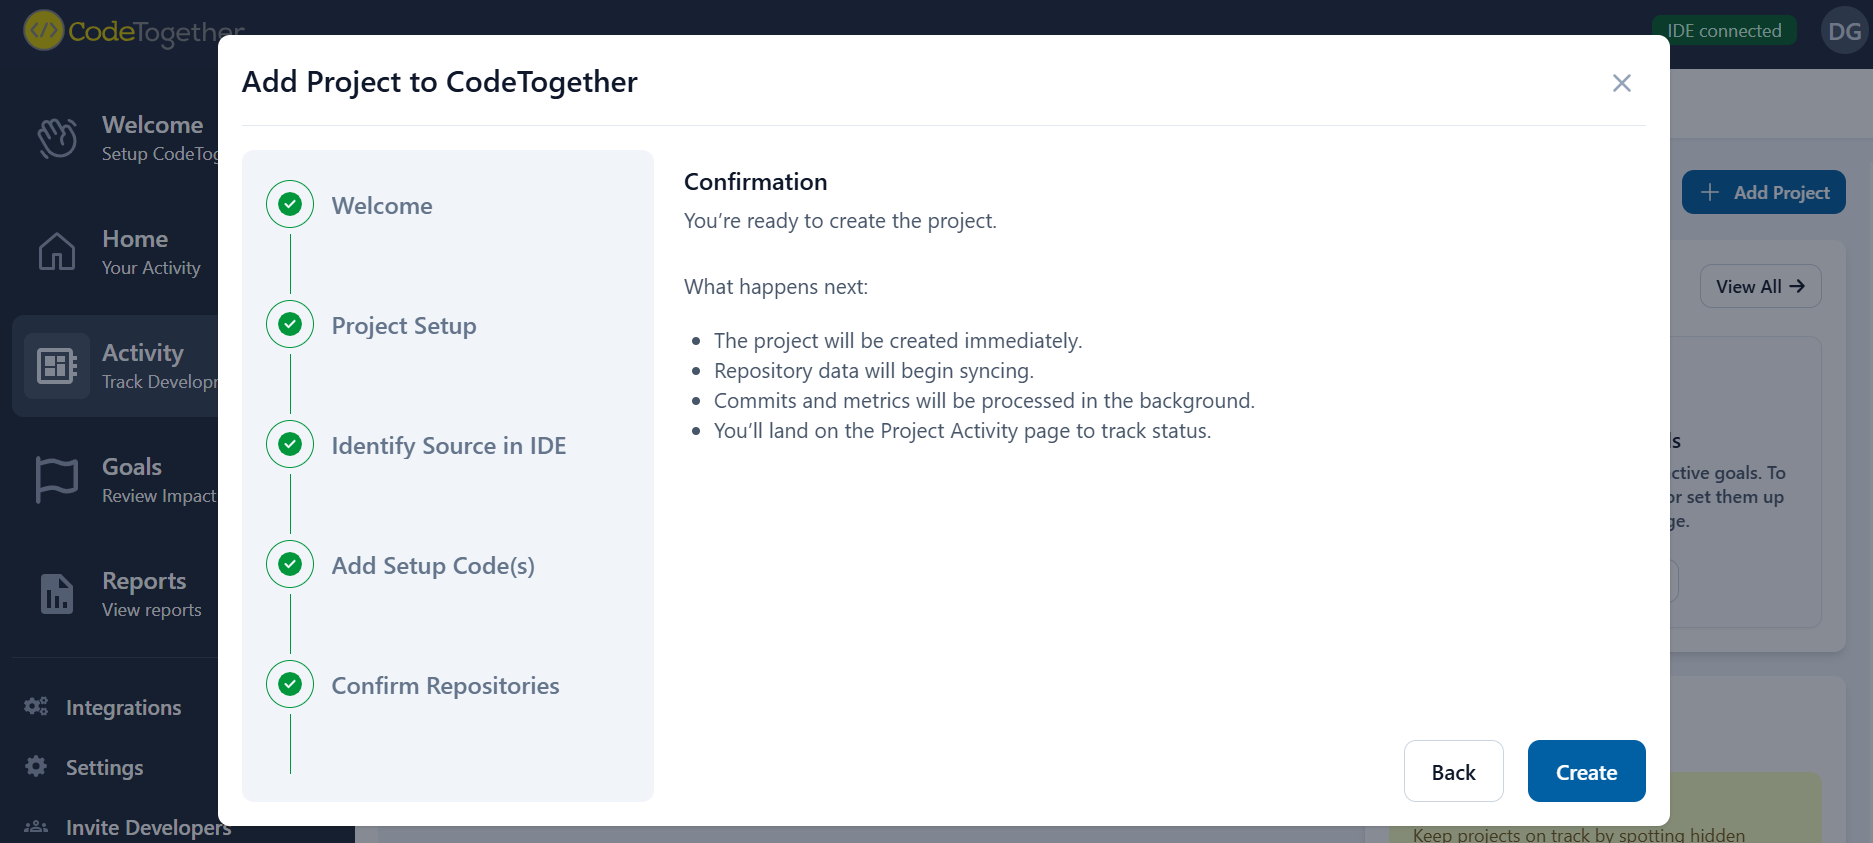
Confirmation
The Confirmation step summarizes what will happen after you create the project. When ready, click Create.
Preparations in Progress
After creating the project, you may see a “Preparations in Progress” screen while CodeTogether retrieves and processes repository data to finish project configuration.
The IDE that generated the Setup Code must be running for preparation to complete.
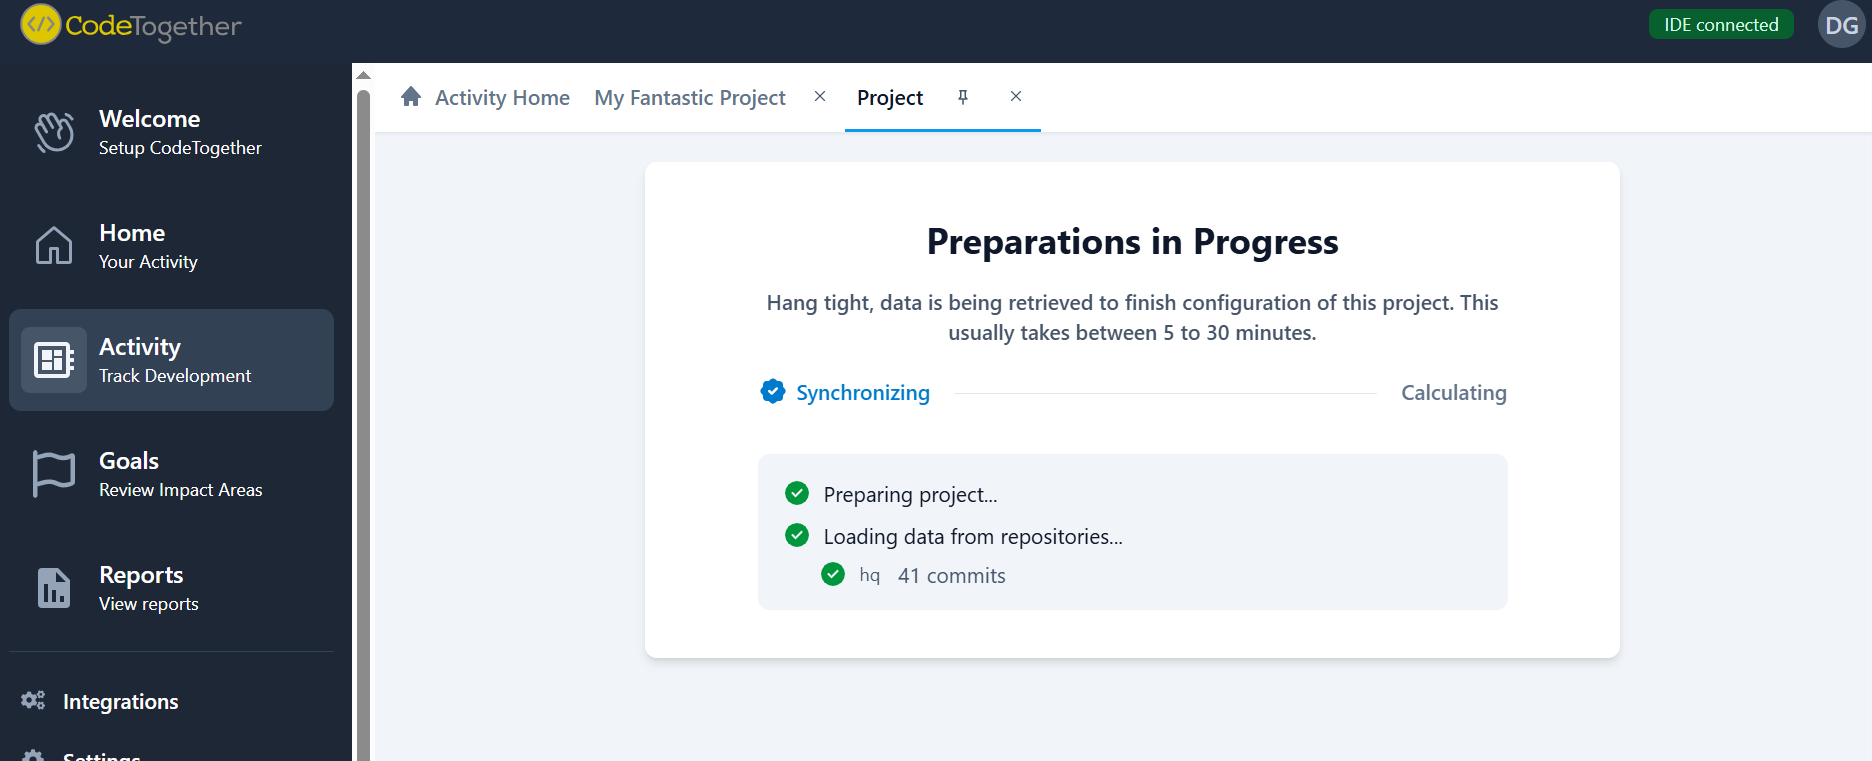
This page shows two phases of progress:
- Synchronizing (loading repository data)
- Calculating (processing metrics)
A checklist indicates what’s completed