Set up your workstation
Use this guide to install AITrax and start capturing development activity. You'll set up your development tool, then confirm the result.
- Deployment: SaaS, On-premises
Before you begin
You need all of the following:
- Your server base URL, for on-premises deployments: Ask your administrator. SaaS users do not need this. See Activate a workstation against your server.
- An activation code, if your administrator issued one: Your administrator will have told you if this applies; if you were not given a code, skip this. See Activate a workstation on SaaS.
1. Set up your development tool
Every developer is sent a workstation setup link as part of onboarding — see Onboard a developer. Open that link, or, if you already have portal access, open Onboarding (Setup) in the portal sidebar instead. If you have neither, ask your administrator to send you a setup link or grant you portal access. The link opens a standalone page titled Workstation Setup; the sidebar item opens the page titled Setup. They are different pages, but both carry the same tab for each supported editor — on the portal page, under For Developers. Select the tab for your editor and follow the steps it shows.
The following table lists the available tabs:
| Tab | Use it for |
|---|---|
| JetBrains IDEs | IntelliJ IDEA, GoLand, PyCharm, WebStorm, and other JetBrains IDEs |
| VS Code-based IDEs | Visual Studio Code, Cursor, and other VS Code-compatible editors |
| Visual Studio | Microsoft Visual Studio |
| Eclipse IDEs | Eclipse IDE |
| Others | Editors not in this table, or command-line AI agents and MCP (Model Context Protocol) clients |
On SaaS, the setup link opens a page titled Set up your workstation, and the sidebar's Onboarding item opens Set up developer workstations, whose For Developers section carries the same tabs. On both, the last tab is Terminal rather than Others; it serves the same editors and tools, and headless or CI machines.
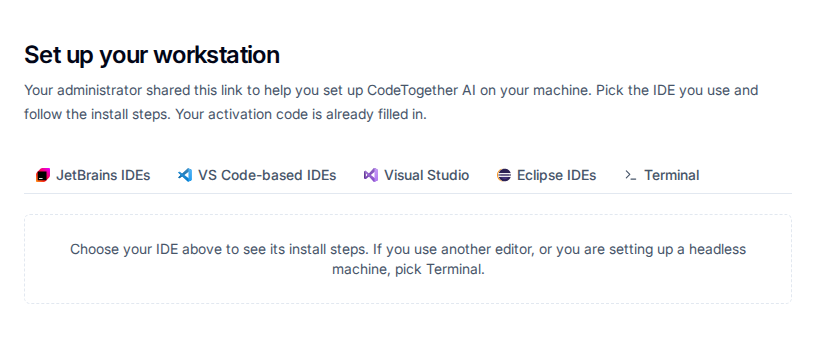
Install the CodeTogether AI plugin using the company-provided installation source on that page. Do not install the plugin from your IDE's marketplace — that version is not configured for your organization.
Installing the plugin is the whole job for a supported IDE: it detects that setup is missing and configures your workstation the first time it runs.
Using a terminal instead
Use a terminal instead if you do not use one of the supported IDEs, or if you work primarily through command-line AI agents such as Claude Code, Codex CLI, or Copilot CLI, and MCP clients such as Claude Desktop. On the Workstation Setup page, this is the Others tab; on the SaaS Set up your workstation page, it is the Terminal tab. Open a terminal, then run the command for your platform.
The Others or Terminal tab shows the exact command for your own deployment, with a switch between macOS / Linux and Windows PowerShell and a Copy button — prefer it over the examples in this section, which name the SaaS host. On SaaS that command already carries your activation code, so there is nothing to paste separately; on an on-premises deployment it names your own server instead and carries no activation code at all. The examples in this section carry neither.
- macOS and Linux
- Windows
curl -fsSL https://aitrax.codetogether.io/setup | sh -s -- system
powershell -NoProfile -ExecutionPolicy Bypass -Command '& ([scriptblock]::Create((Invoke-RestMethod ''https://aitrax.codetogether.io/setup.ps1''))) system'
The doubled single quotes around the URL are intentional PowerShell escaping, not a typo: copy the whole line exactly as shown. If PowerShell reports a parse error, that usually means a quote was dropped in the copy — re-copy the line rather than retyping it.
The command detects your operating system and architecture, downloads the aitrax binary to
~/.codetogether/tracker, and runs aitrax setup system.
To review the script before it runs — a policy at many organizations for any piped installer — download it to a file first, read it, then run it:
curl -fsSL https://aitrax.codetogether.io/setup -o aitrax-setup.sh
less aitrax-setup.sh
sh aitrax-setup.sh system
On Windows, save it with Invoke-RestMethod https://aitrax.codetogether.io/setup.ps1 -OutFile aitrax-setup.ps1, review it, then run .\aitrax-setup.ps1 system. The script is a thin
delegator: it downloads the binary and runs aitrax setup, and every configuration change is
made by that command, not by the script. See How setup works.
2. Confirm setup completed
Run the status command:
aitrax setup check
The output reports system status. If it shows as configured, your workstation is ready and
activity is captured from your next session. If it does not, see
Setup reports not configured.
$ aitrax setup check
{
  "system": {
    "configured": true,
    "missing": [],
    "loginCleanup": {
      "state": "clean"
    }
  }
}
3. Confirm activity reaches the portal
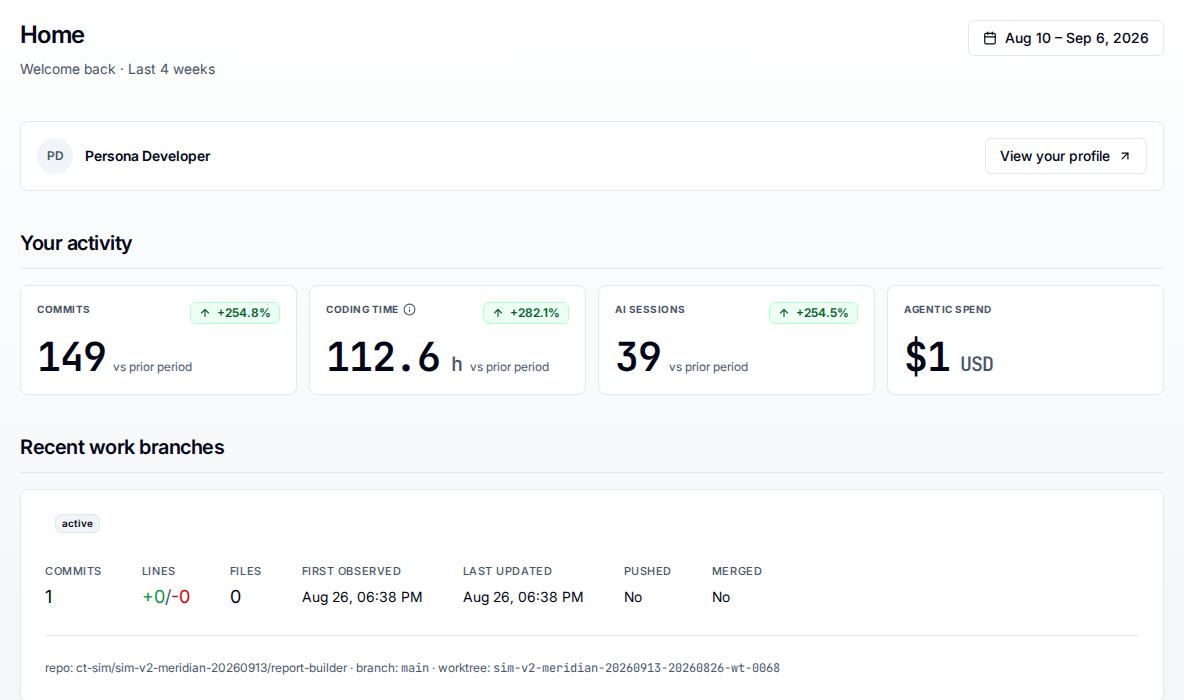
Make a commit, or run an AI session in your editor, then open the portal.
If you do not have portal access, ask an administrator to look for you on a work area's Tracking tab, which lists a row per developer and a column per tool and is the quickest confirmation that your workstation is reporting.
Activity does not appear instantly. Processing and rollups run asynchronously, so allow time before treating an empty view as a fault. See No activity appears for a developer.
Next steps
- Members and developers — how your commits are attributed to you.
- AITrax CLI reference — the full command surface.